Quickstart guide - Continue
Objective
This guide will get you up and running with CodeGate in just a few minutes using Visual Studio Code, the open source Continue AI assistant, and a locally-hosted LLM. By the end, you'll learn how CodeGate helps protect your privacy and improve the security of your applications.
CodeGate works with multiple local and hosted large language models (LLMs) through Continue. In this tutorial, you'll use Ollama to run a code generation model on your local machine.
If you have access to a provider like Anthropic or OpenAI, see Use CodeGate with Continue for complete configuration details, then skip ahead to Explore CodeGate's features in this tutorial.
Prerequisites
CodeGate runs on Windows, macOS (Apple or Intel silicon), or Linux systems.
To run Ollama locally, we recommend a system with at least 4 CPU cores, 16GB of RAM, a GPU, and at least 12GB of free disk space for best results.
CodeGate itself has modest requirements. It uses less than 1GB of RAM, minimal CPU and disk space, and does not require a GPU.
Required software:
- Docker Desktop (or Docker Engine on Linux)
- Ollama
- The Ollama service must be running -
ollama serve
- The Ollama service must be running -
- VS Code with the Continue extension
Continue is an open source AI code assistant that supports a wide range of LLMs.
Start the CodeGate container
Download and run the container using Docker:
docker pull ghcr.io/stacklok/codegate:latest
docker run --name codegate -d -p 8989:8989 -p 9090:9090 --restart unless-stopped ghcr.io/stacklok/codegate:latest
This pulls the latest CodeGate image from the GitHub Container Registry and starts the container the background with the required port bindings.
To verify that CodeGate is running, open the CodeGate dashboard in your web browser: http://localhost:9090
Install a CodeGen model
Download our recommended models for chat and autocompletion, from the Qwen2.5-Coder series:
ollama pull qwen2.5-coder:7b
ollama pull qwen2.5-coder:1.5b
These models balance performance and quality for typical systems with at least 4 CPU cores and 16GB of RAM. If you have more resources available, our experimentation shows that larger models do yield better results.
Configure the Continue extension
Next, configure Continue to send model API requests through the local CodeGate container.
In VS Code, open the Continue extension from the sidebar.
Click the gear icon in the Continue panel to open the configuration file
(~/.continue/config.json).
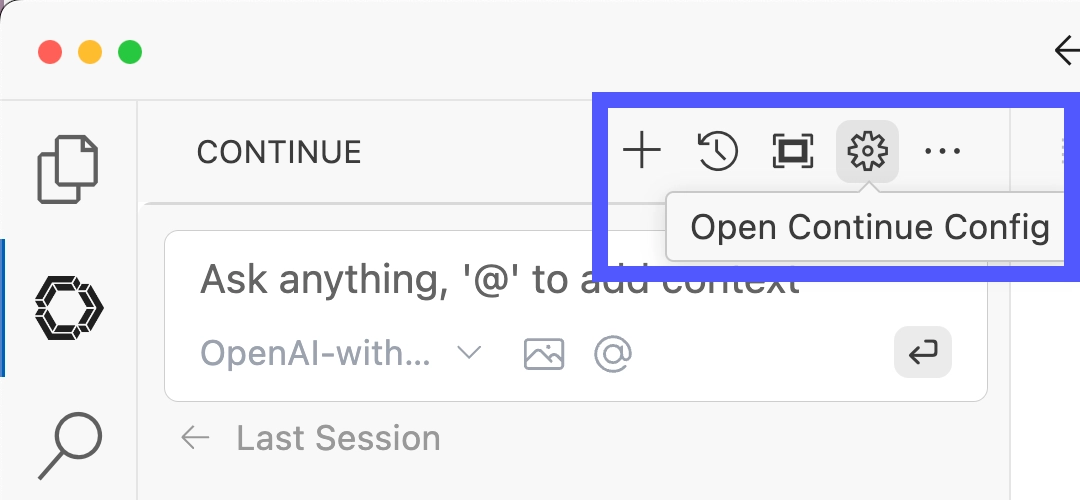
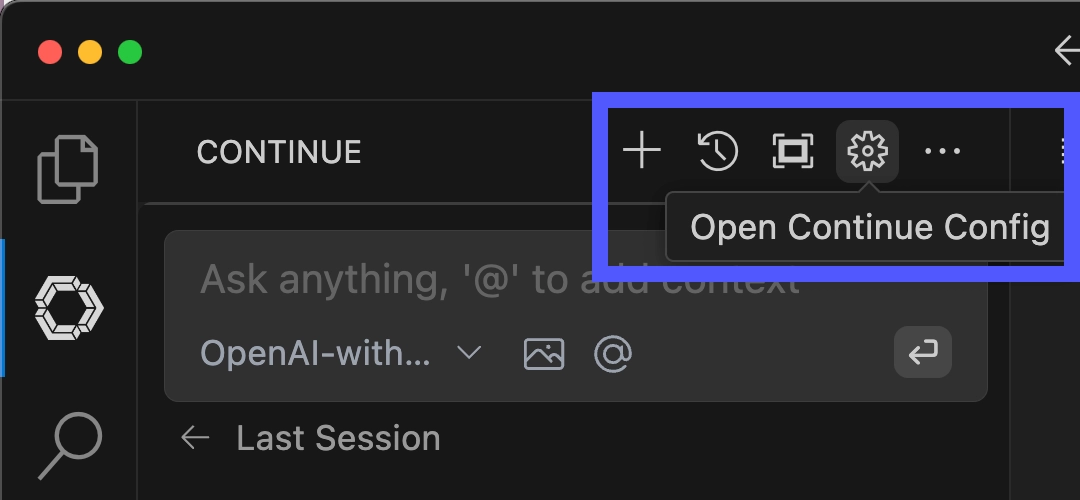
If this is your first time using Continue, paste the following contents into the file and save it. If you've previously used Continue and have existing settings, insert or update the highlighted portions into your current configuration.
{
  "models": [
    {
      "title": "CodeGate-Quickstart",
      "provider": "ollama",
      "model": "qwen2.5-coder:7b",
      "apiBase": "http://localhost:8989/ollama"
    }
  ],
  "modelRoles": {
    "default": "CodeGate-Quickstart",
    "summarize": "CodeGate-Quickstart"
  },
  "tabAutocompleteModel": {
    "title": "CodeGate-Quickstart-Autocomplete",
    "provider": "ollama",
    "model": "qwen2.5-coder:1.5b",
    "apiBase": "http://localhost:8989/ollama"
  }
}
The Continue extension reloads its configuration immediately when you save the file.
You should now see the CodeGate-Quickstart model available in your Continue chat panel.
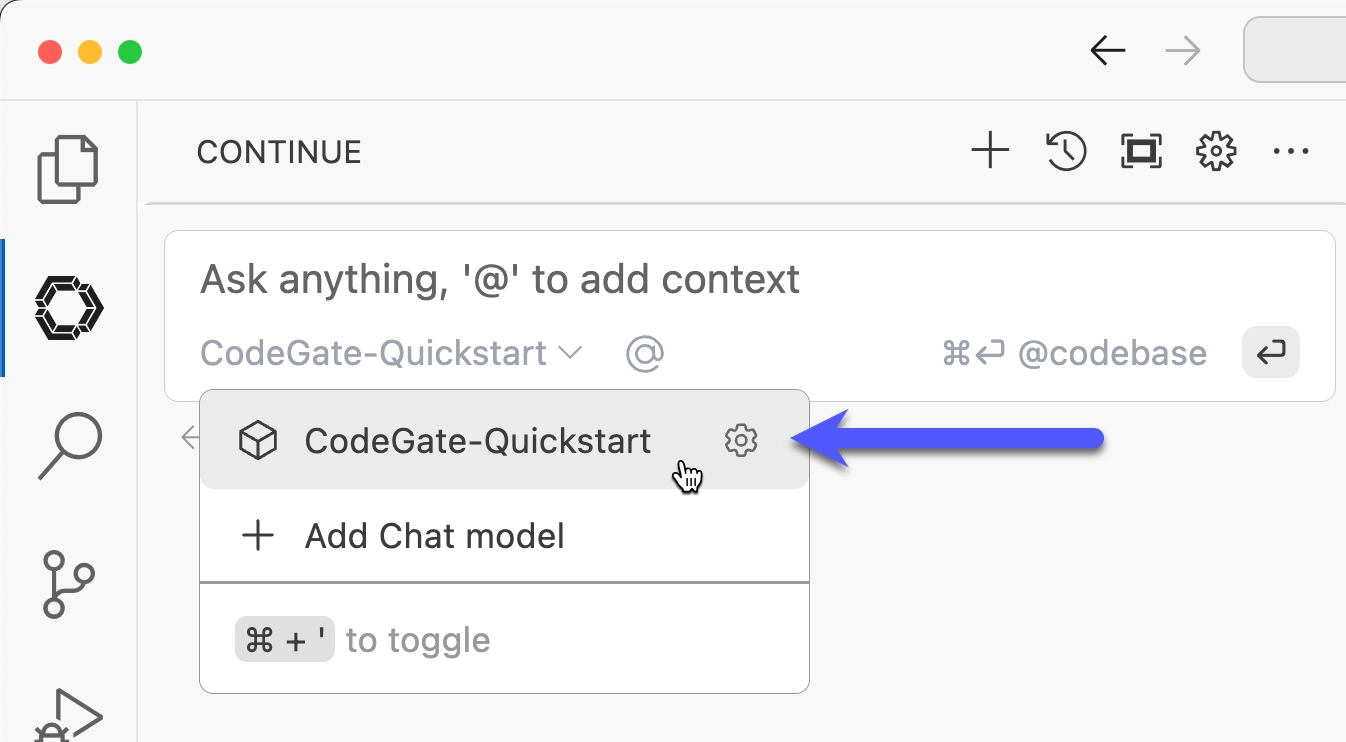
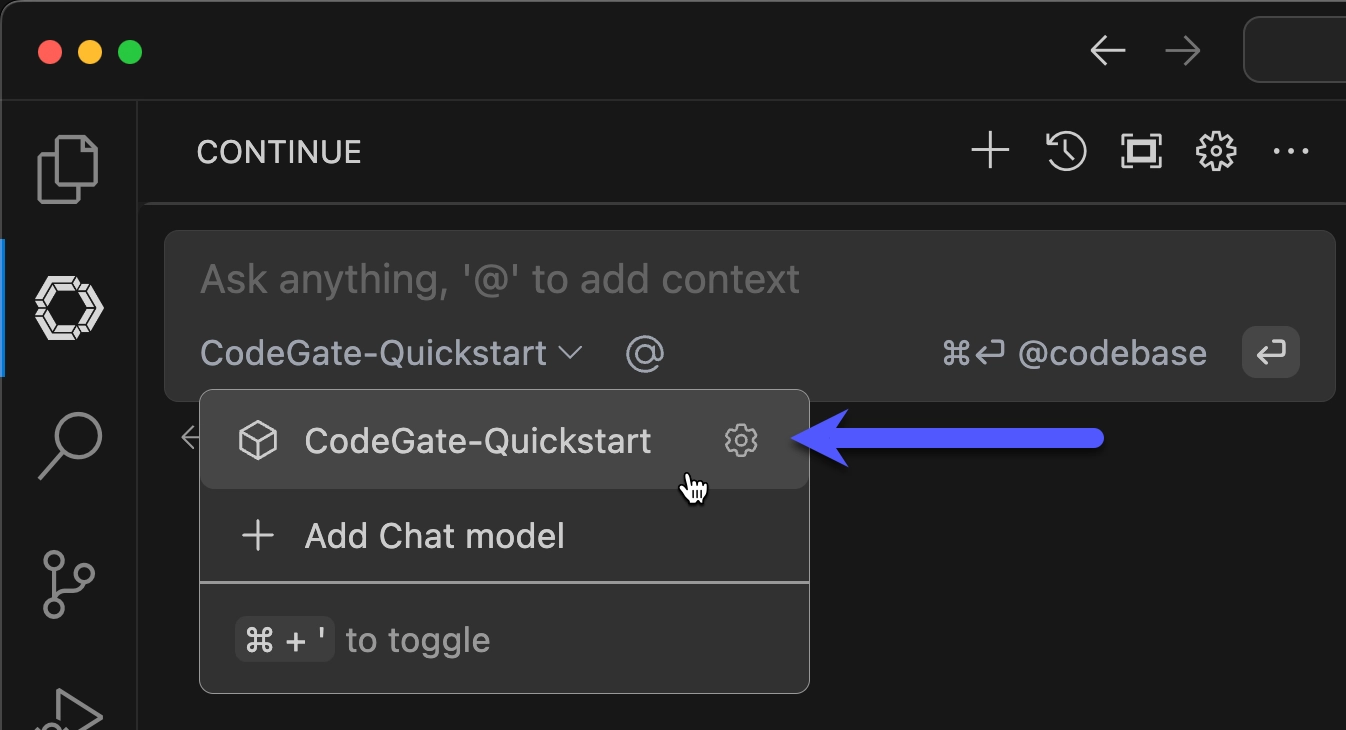
Enter codegate version in the chat box to confirm that Continue is
communicating with CodeGate. CodeGate responds with its version number.
Explore CodeGate's features
To learn more about CodeGate's capabilities, clone the demo repository to a local folder on your system.
git clone https://github.com/stacklok/codegate-demonstration
This repo contains intentionally risky code for demonstration purposes. Do not run this in a production environment or use any of the included code in real projects.
Open the project folder in VS Code. You can do this from the UI or in the terminal:
cd codegate-demonstration
code ./codegate-demonstration
Protect your secrets
Often while developing, you'll need to work with sensitive information like API keys or passwords. You've certainly taken steps to avoid checking these into your source repo, but they are fair game for LLMs to use as context and training.
Open the conf.ini or eth/app.json file from the demo repo in the VS Code
editor and examine the contents. In the Continue chat input, type @Files and
select the file to include it as context, and ask Continue to explain the file.
For example, using conf.ini:
@conf.ini Explain this file
CodeGate intercepts the request and transparently encrypts the sensitive data before it leaves your machine.
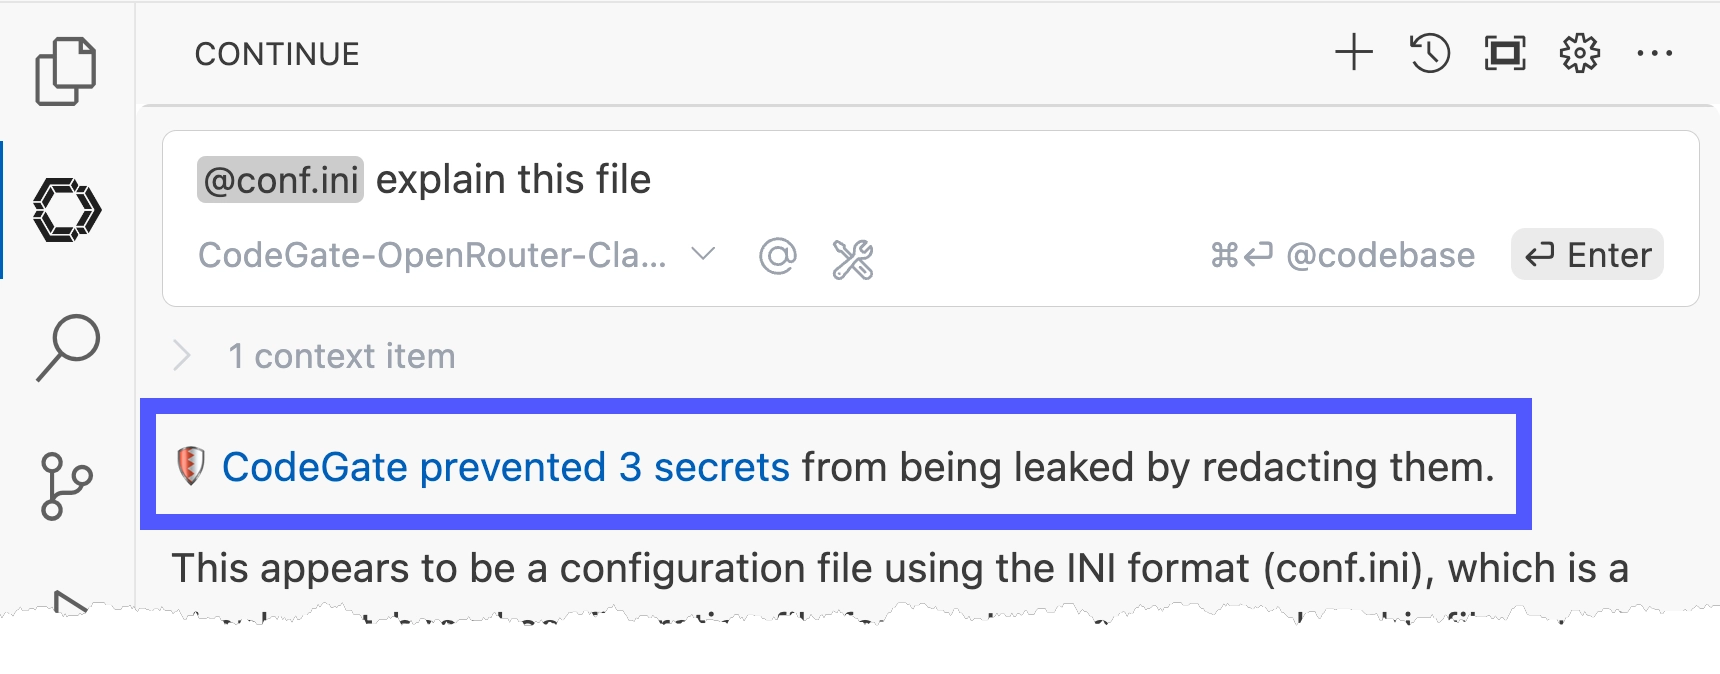
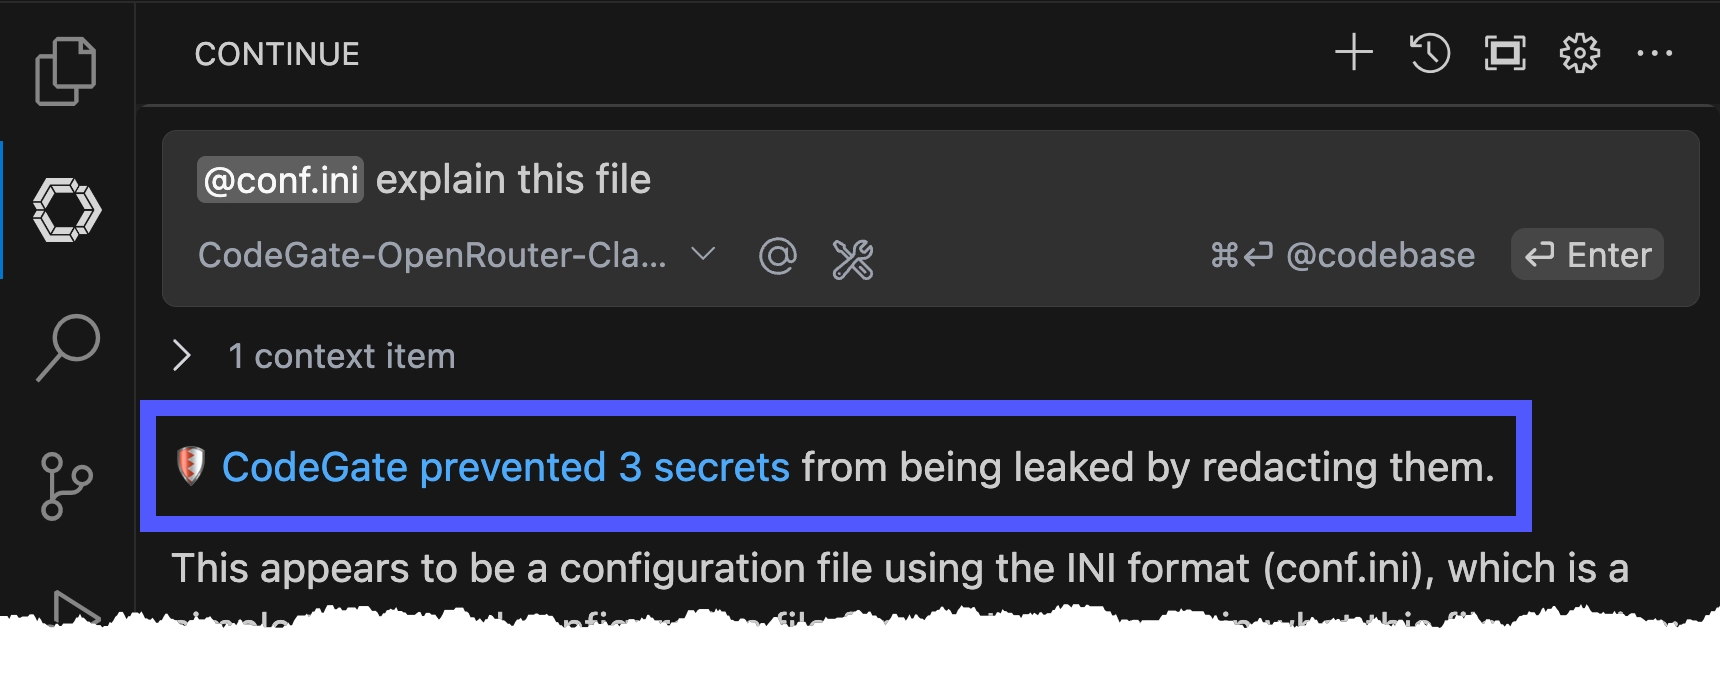
Learn more in Secrets encryption.
Assess dependency risk
Open the python/app.py file from the demo repo in the VS Code editor and
examine the import statements at the top. As with the previous step, type
@Files, this time selecting the python/app.py file to add it to your prompt.
Then ask Continue to analyze the file.
@app.py Please analyze this file
Using its up-to-date knowledge from Stacklok Insight, CodeGate identifies the malicious and deprecated packages referenced in the code.
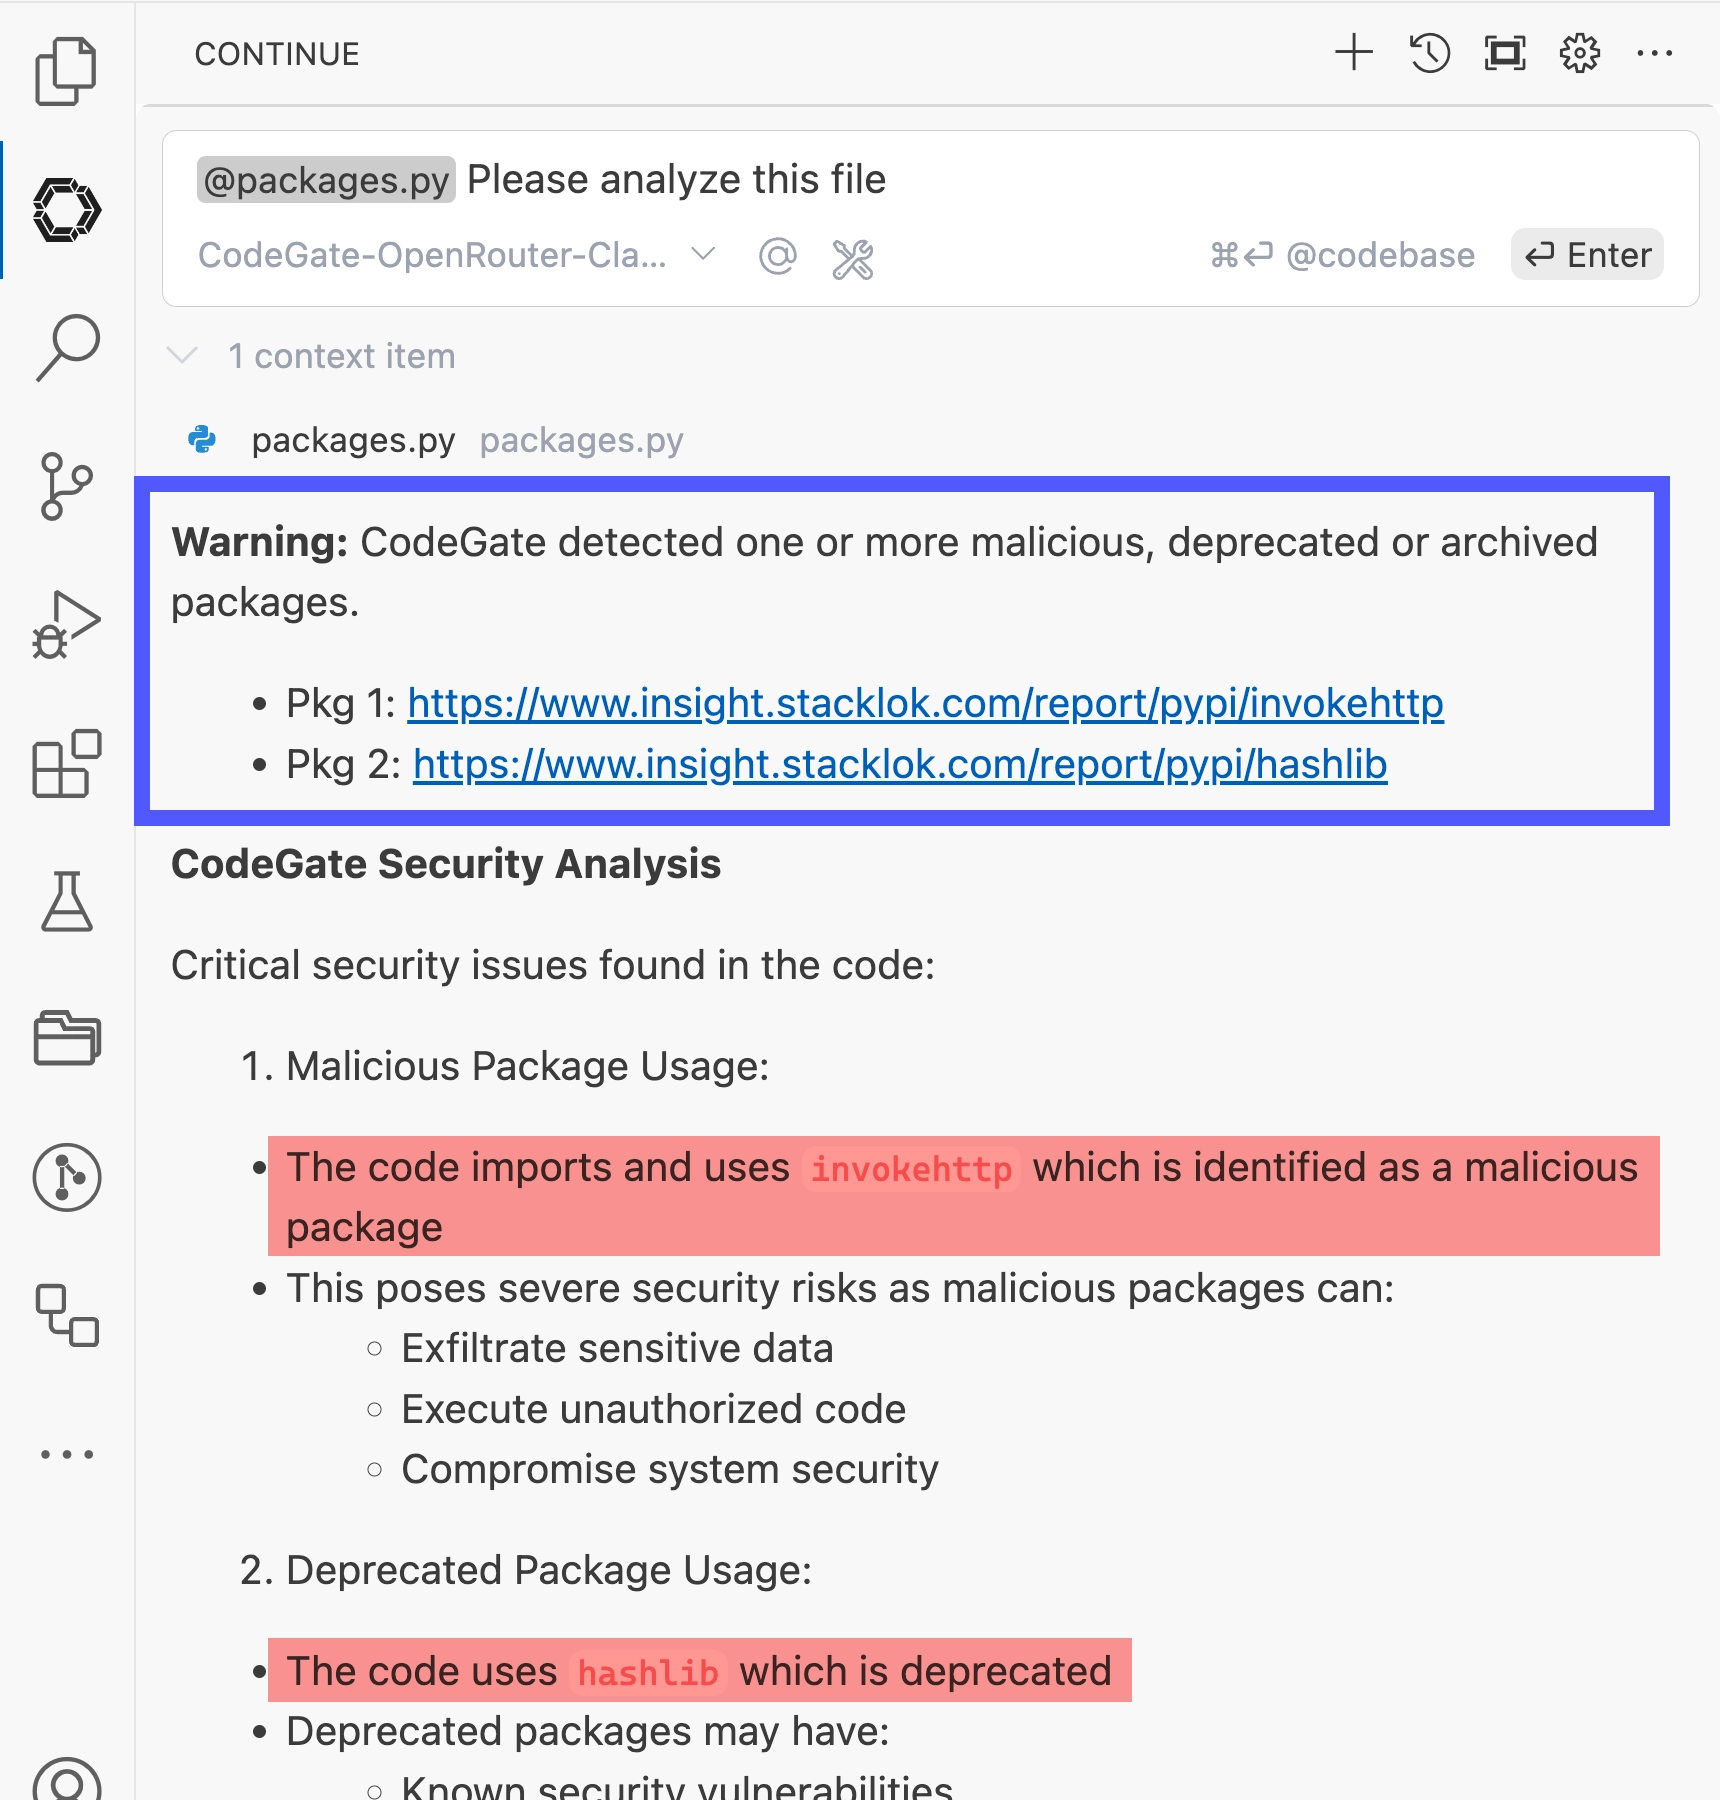
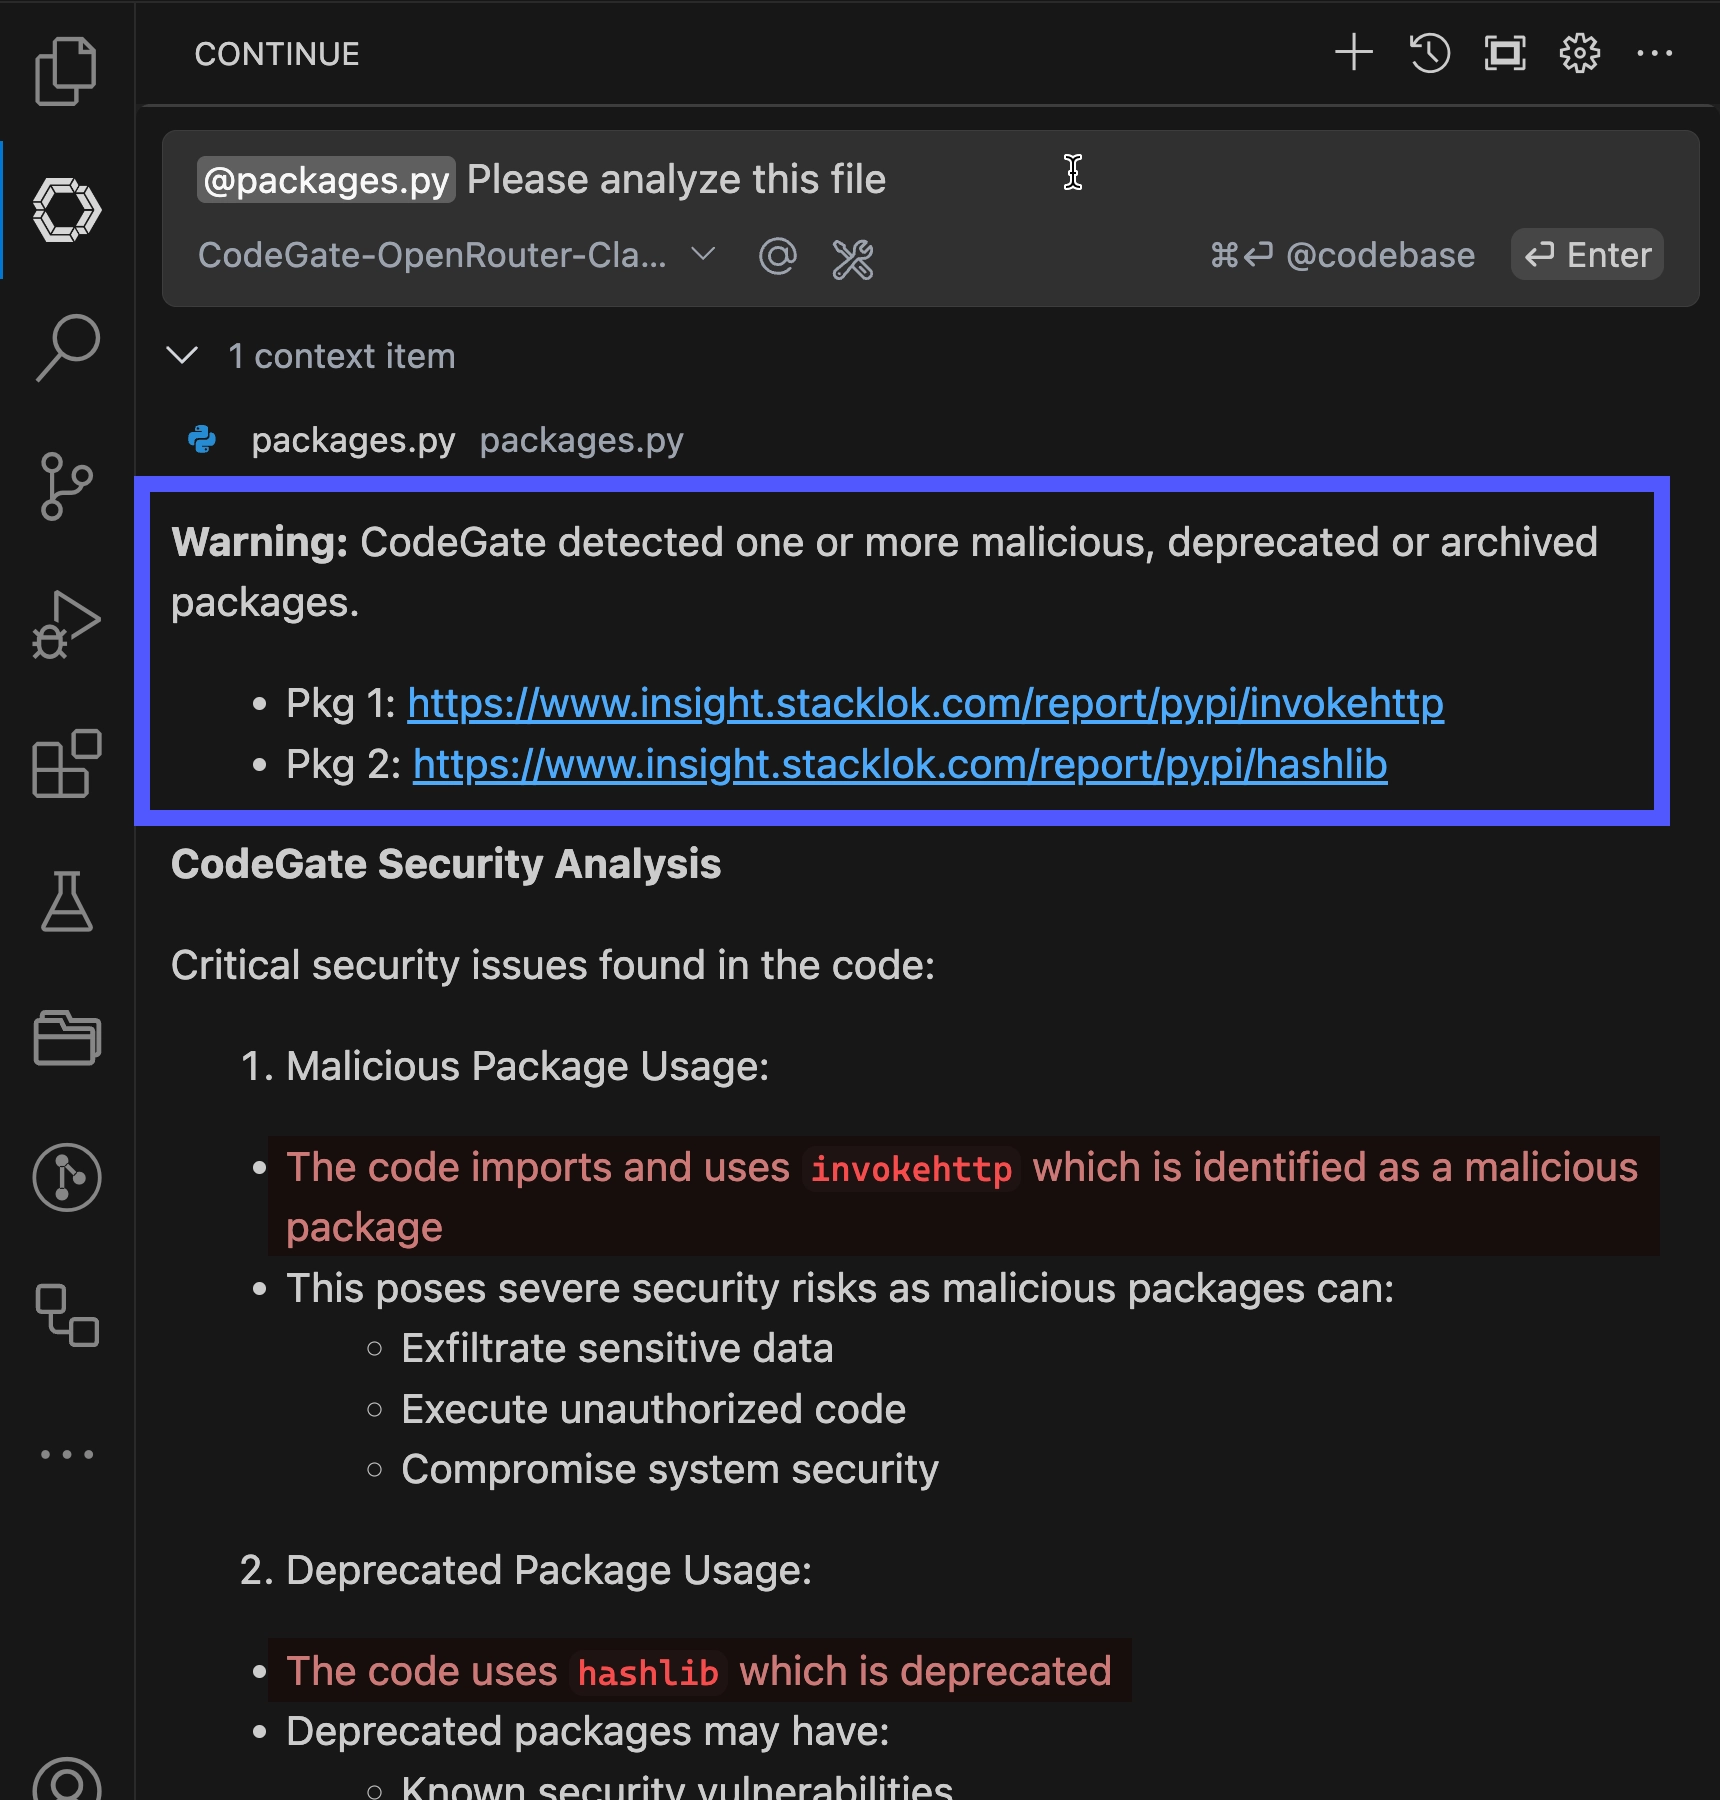
Learn more in Dependency risk awareness.
View the dashboard
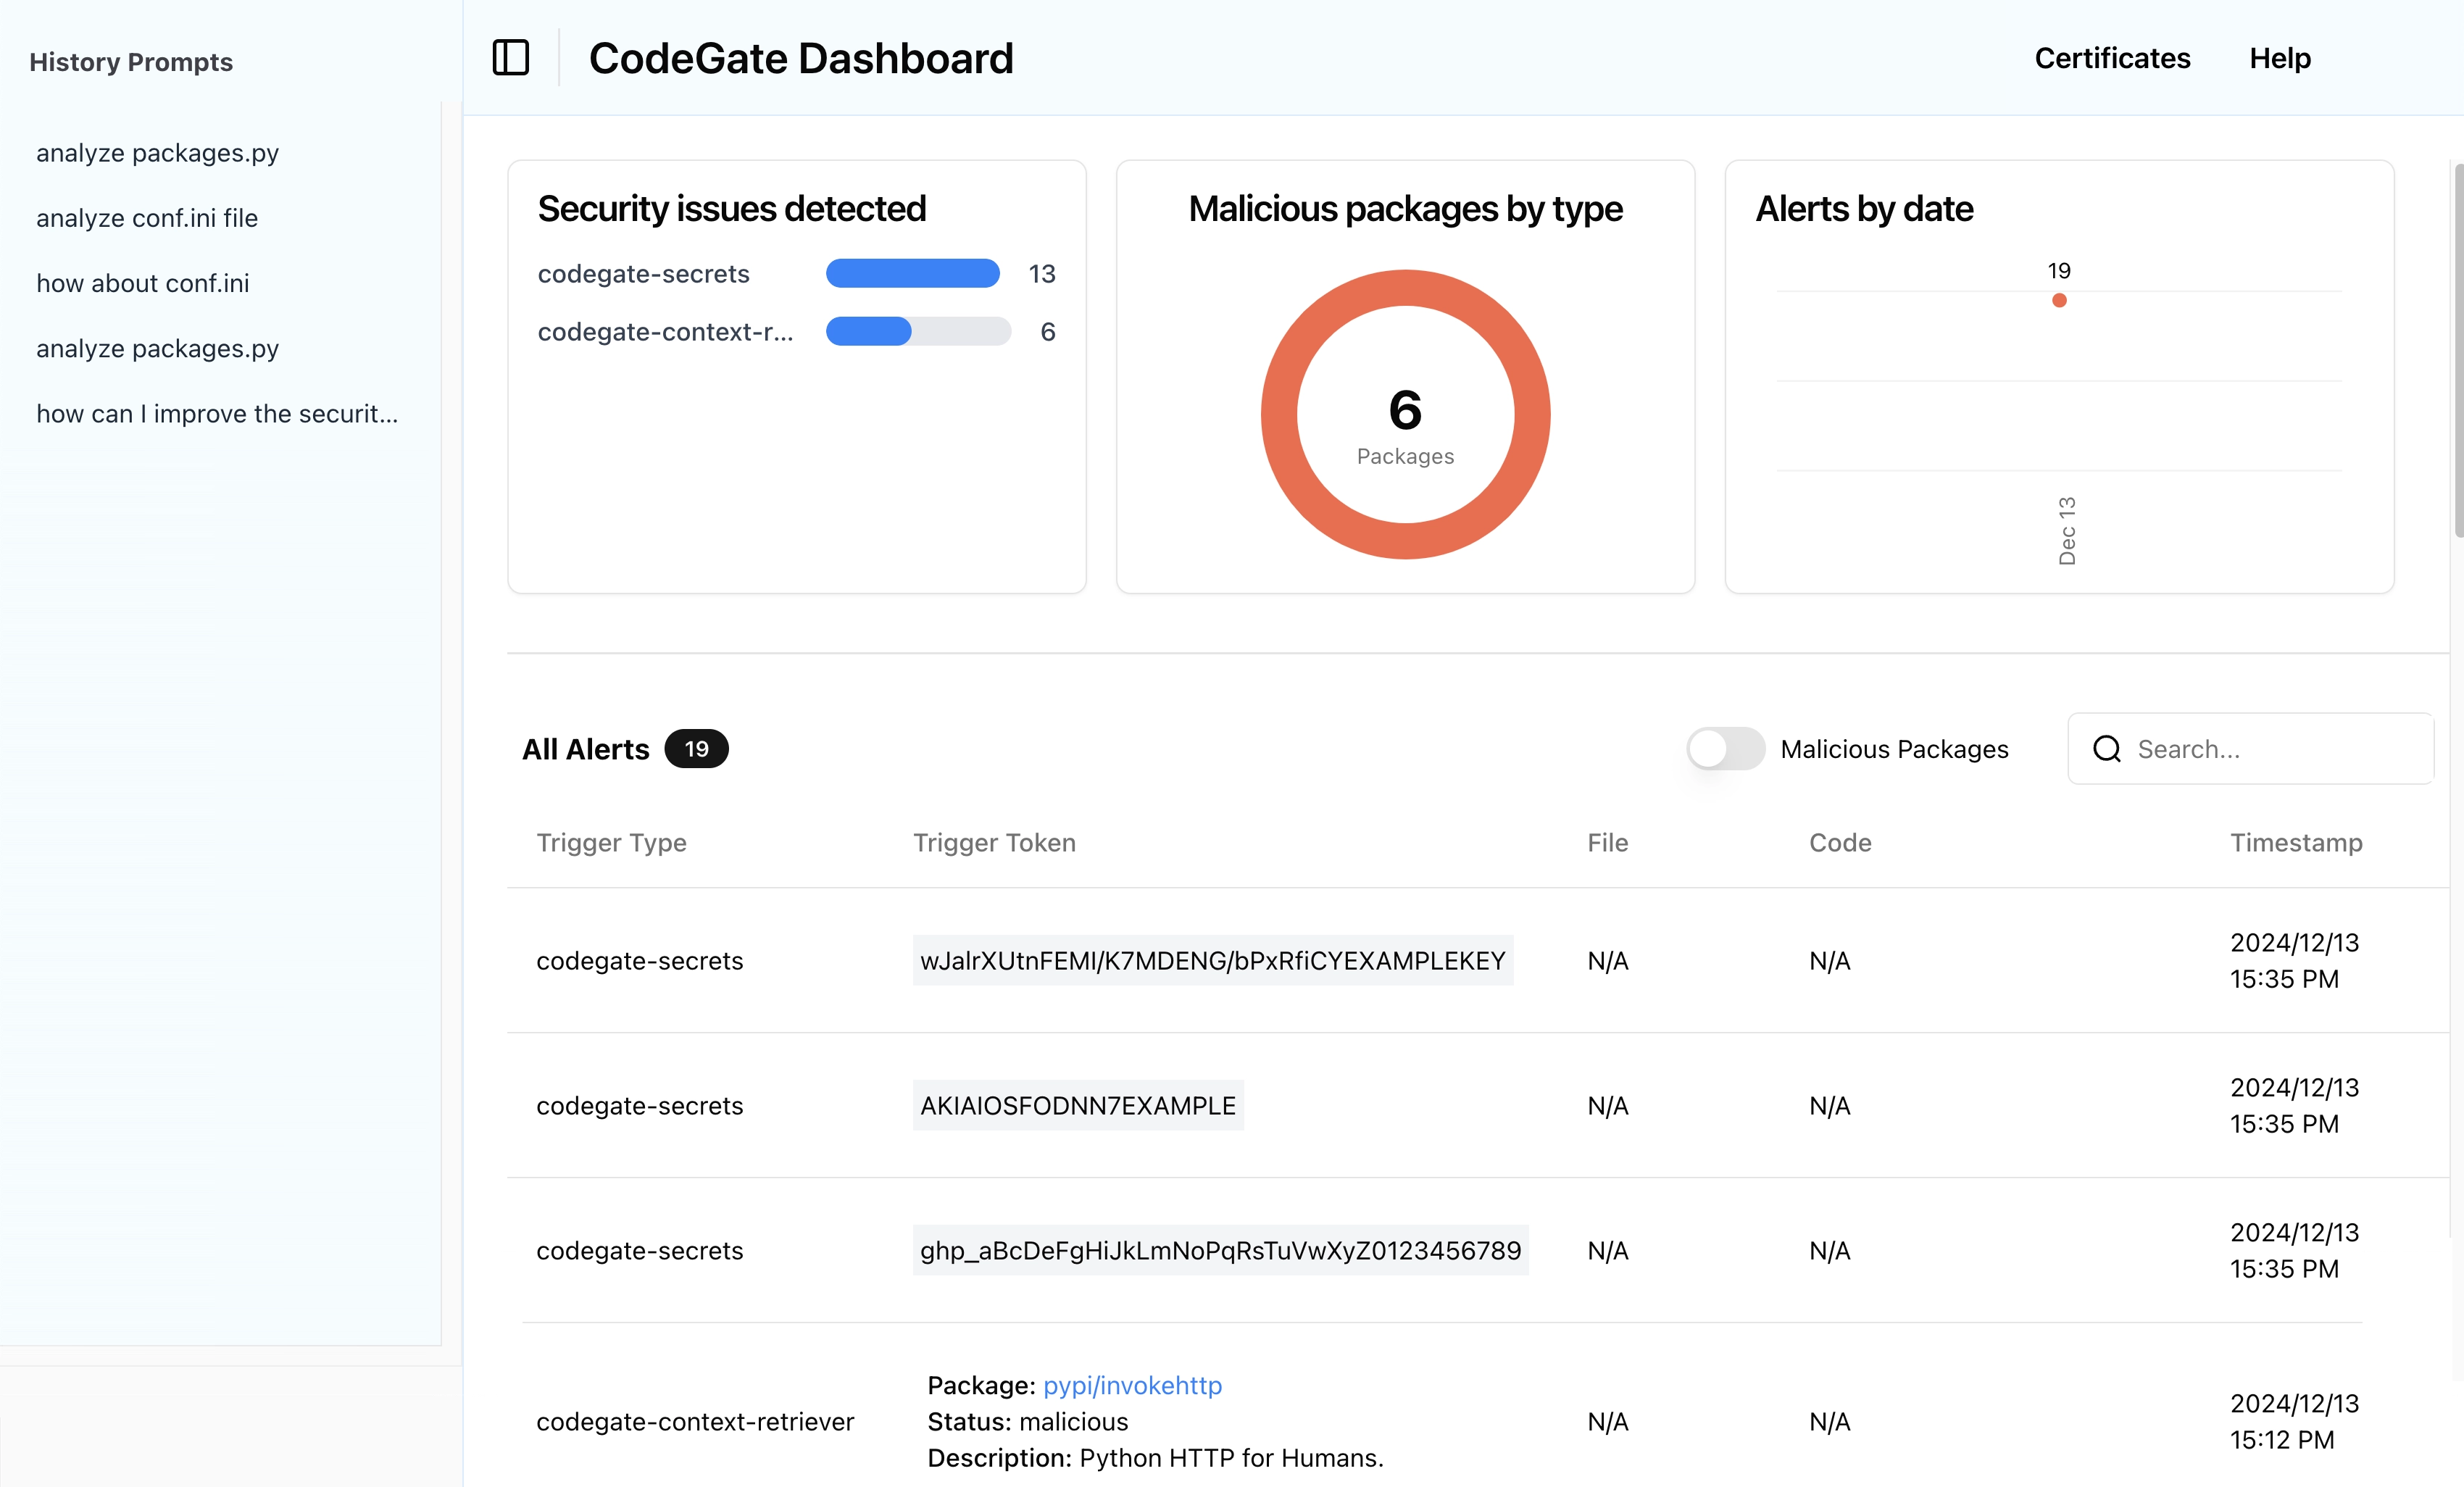
Open your web browser to http://localhost:9090 and explore the CodeGate dashboard.
The dashboard displays security alerts and history of interactions between your AI assistant and the LLM. Several alerts and prompts from the previous steps in this tutorial should be visible now. Over time, this helps you understand how CodeGate is actively protecting your privacy and security.
Next steps
Congratulations, CodeGate is now hard at work protecting your privacy and enhancing the security of your AI-assisted development!
Check out the rest of the docs to learn more about how to use CodeGate and explore all of its Features.
If you have access to a hosted LLM provider like Anthropic or OpenAI, see Configure Continue to use CodeGate to learn how to use those instead of Ollama.
Finally, we want to hear about your experiences using CodeGate. Join the
#codegate channel on the
Stacklok Community Discord server to chat about
the project, and let us know about any bugs or feature requests in
GitHub Issues.
Clean up your environment
Of course we hope you'll want to continue using CodeGate, but if you want to stop using it, follow these steps to clean up your environment.
-
Stop and remove the CodeGate container:
docker stop codegate && docker rm codegate -
Remove the
apiBaseconfiguration entries from your Continue configuration file.